
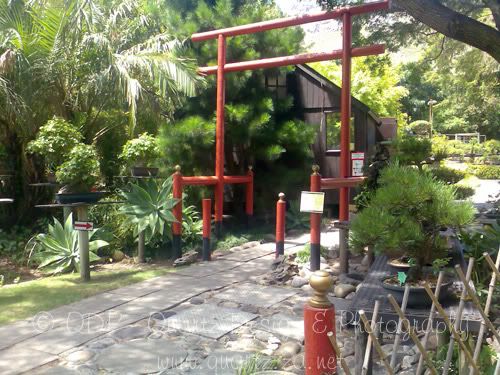
The entrance to the bonsai garden
Ok not quite, but I do know a little more about the practical side of Bonsai keeping than I did before today. Haha!
So, as I said in the last post, myself and the bf were attending a bonsai class today, which we did. The bf nodded off once or twice (our instructor spoke rather softly haha) but we both enjoyed it thoroughly. If thats all you wanted to know, you can stop reading and move on to your next blog, but if you wanted to know more about the day itself, keep reading.
We managed to be on time for a change, and got there nice and early, found a spot on the lawn, set up our chairs and sat down. The first couple of hours were spent listening to various points about bonsais and bonsai-keeping, from their history, to the styles, to the tools. Then we took a short break from sitting, and were escorted through the bonsai garden where our instructor explained the different trees and techniques.
On our return, we had some tea and/or coffee and biscuits and then continued our lesson. We went over more aspects of bonsai, including an in-depth look at the soil options, fertilisers, how trees gather nutrients (hmm, reminded me of high school biology!), general caring for your bonsai, and potting, pruning, and wiring (as well as had a short demo, which proved very helpful). We broke for lunch and potting our own bonsai's were next on the agenda!
Choosing our bonsais was fun, as we had a bunch to choose from, and then it was on to finding its style. To do this, you have to clear away the soil from the base to see what the root system is like. In bonsai, you want to give a feeling of age, so you need to make sure you're showing the start of the main roots, and base which was previously under soil. Once thats completed, you select a "front" for viewing the tree and start pruning - you might want to take your time on that part. Once you've pruned (selectively and probably not enough, if you're anything like me), its time for wiring. The wire must be properly anchored before you continue, which either means its stuck into the soil and wound around the tree twice, or if wiring a higher branch, wound around a lower branch before moving onto the branch you want to shape. The thickness should be slightly tougher than the branch you want to bend/shape.
Once your soiling, planning, pruning and wiring is finished, you loosen it from the pot and once its out, you remove as much soil as possible from the root system. Trim down a small percentage of the outside roots (and the tap root, if necessary), and you're ready to pot. Bonsai pots have either one or two holes, and you have to place a piece of plastic mesh over them to prevent the soil from draining out. Once thats done, cover the base with a little soil, in goes your bonsai, then fill and pack with more soil.
Once its properly packed (not too tightly, mind you) then its time to (gently) dunk your bonsai into a bucket of water. This is a sure-fire way of making sure all the gas pockets are pushed from the soil. It's complete when no more bubbles eminate from the submerged soil. You remove your pot and watch how the water drains. It should take no longer than a minute at the most (mine took about 20-30 seconds). You now add moss and gravel to decorate. Incidently, the moss never should cover more than 40-50% of your bonsai's base. After you're happy with that, you're done!
Once everyone had finished, we said our thanks, and were free to leave or wander around if we wished. I'd definately recommend a bonsai course to anyone wanting to get a more hands-on feel for bonsai keeping. I felt very nervous at the prospect of starting my own bonsai alone, but now after the course, I feel confident to start another, should I find one.
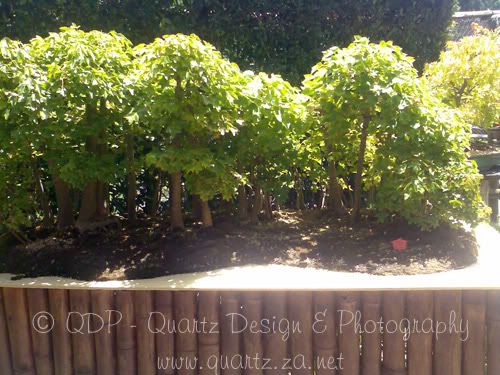
One of their main group plantings
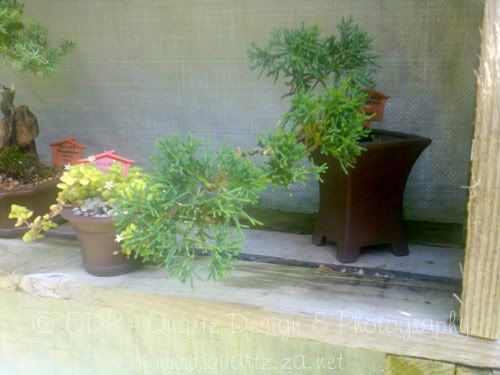
A cascade-style bonsai
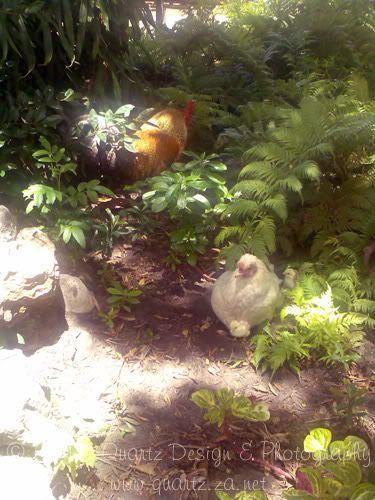
Some of the roosters and hens and chickies roaming about the nursery

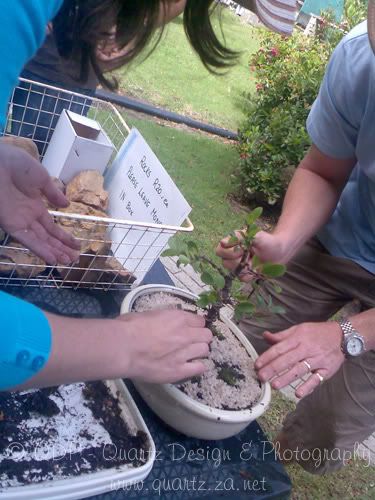
Cleaning and detangling the root system before potting
Another couple putting the final touches of moss and gravel on their trees

That same couple took their two trees and joined them together. Over time, these trunks will merge to make one large, thick trunk.
Some of the finished bonsais...the bf's one is in the middle

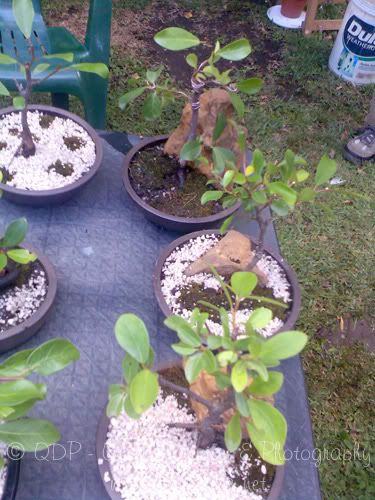
Most of the finished bonsais from the day! Mine is the dark, rectangular pot in the front row. You cant see it too well in the photo, but I decided on a slanting/leaning style due to the natural way the roots were formed.


I had a bonzai once, but it did not last very long.. lol. It looks great!
ReplyDelete